So I eyed this post on rookiemag awhile ago on how to DIY decorate a detachable collar, and I've FINALLY gotten around to it. I tried the one under the section labeled "glitter patterns" because I basically eat glitter. Mmmm, glitter.
 |
| From an old collared shirt from the GAP! |
And here are the materials I used:
 |
| I also added a darker blue glitter, not shown in the picture. |
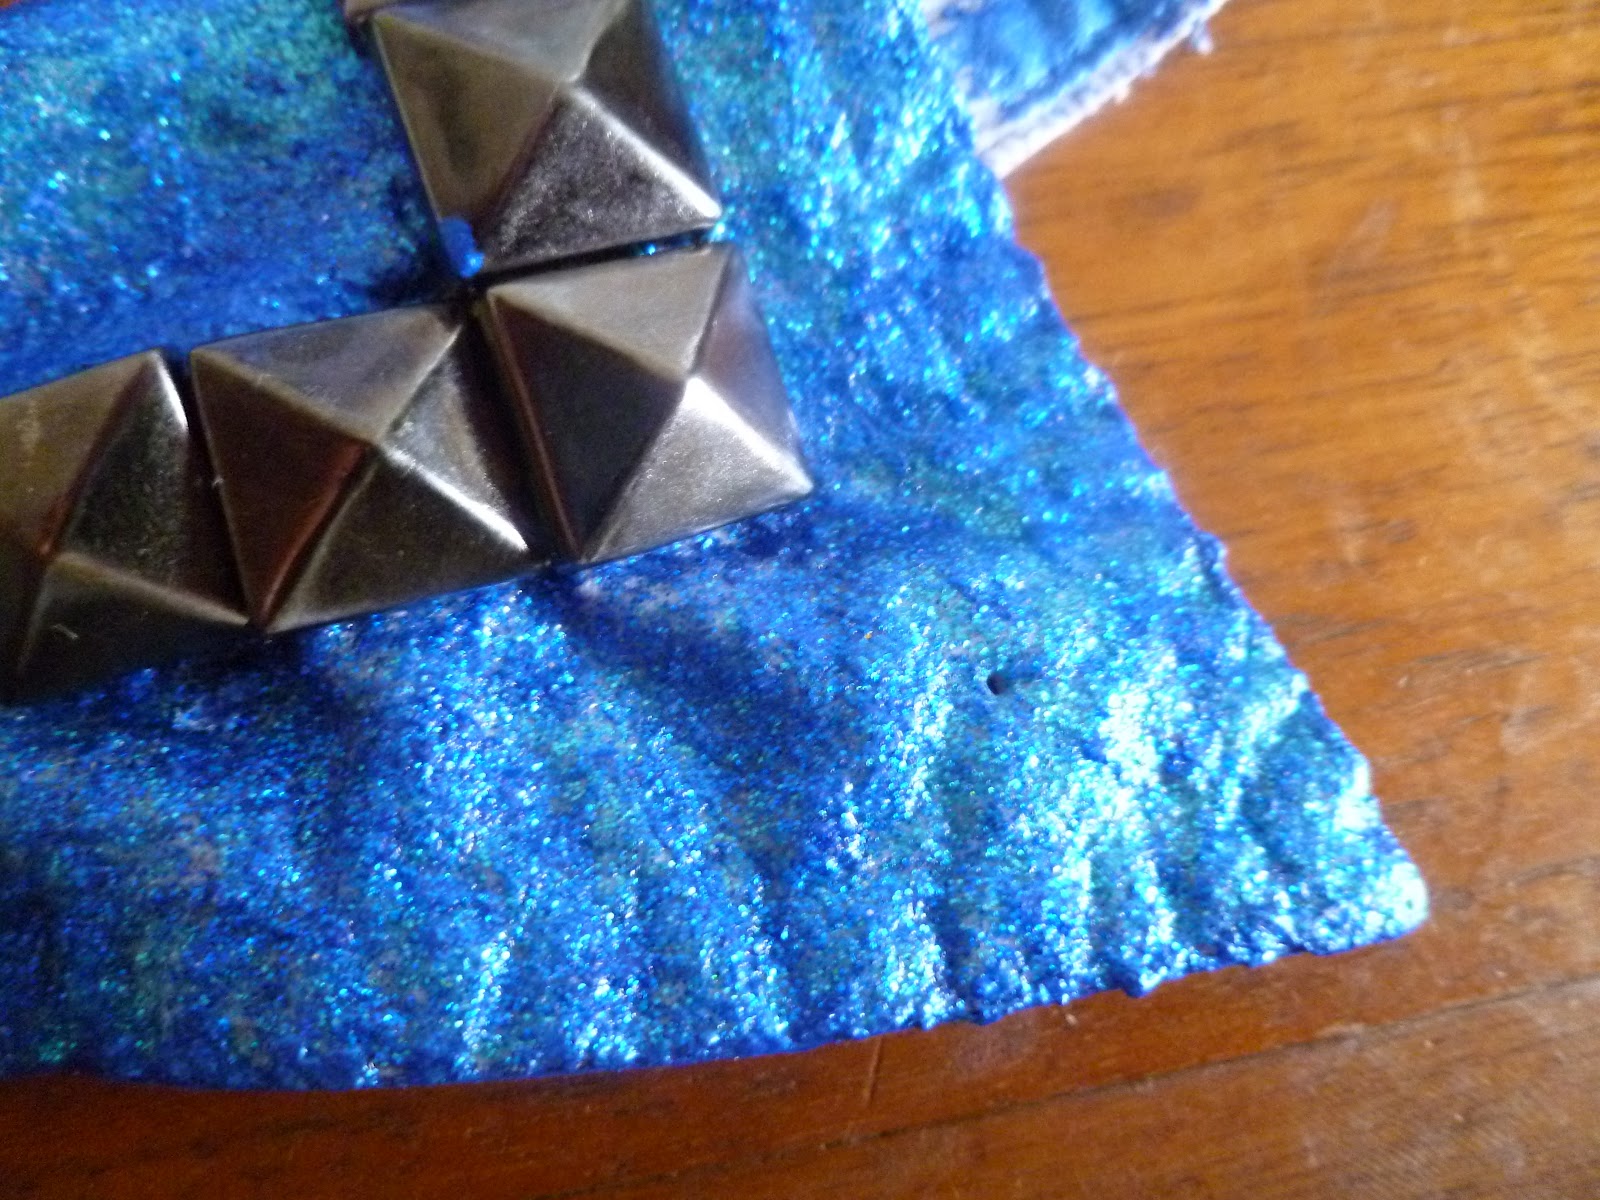
Here is the finished collar:
 |
| Whee!! So shiny! Sorry for the blurriness. |
 |
| Are you ready for your close up, collar?! |
The glitter actually came out a lot more matte than I would have preferred. I think this is because the Mod Podge Fabric paint that inevitably sits on top of the glitter isn't shiny. To get a very glittery look, I would recommend brushing glue onto the collar first and THEN sprinkling lots of glitter on top rather than mixing the glitter and fabric paint together. However, be warned, the glitter is more likely to fall off this way. An alternative might be to use Mod Podge Gloss paint rather than the Fabric version.
Here are pictures of the detachable collar being worn!
 |
| I feel so studly. |
 |
| Don't touch my neck, I'll kill you! |
 |
| Side view |
 |
| On my lap. |
 |
| I am undone! Or at least... the collar is unbuttoned. |
The gold-rose spikes are pin-ons connected with chains that I got from ASOS, similar to this. I like wearing 'em with the detachable collar because then I can leave the collar unbuttoned, like in the last picture.
Lessons learned:
*Foam brushes are horrible for fabric glue. I guess I should have seen that one coming.
*Let glue dry between layers, or you'll get some glitter clumping.
*If you don't want the original color of the collar to show through, you'll have to put on a ton of layers or paint it with an acrylic first.
*If you want a super glittery collar, put the glue down first then sprinkle on the glitter, or use a glossy fabric paint.
*Don't forget painting the part around the button.
If you don't want to DIY a studded/spiky accessory yourself, I don't blame you. It did take a few hours to do. DON'T FRET, my pet. There are some really cool neck accessories out there, already done for you. Here are some of my favorites from Harlett:
 |
| A little touch of badass. Available here. |
 |
| I love the geometry of this. Available here. |
 |
| The spikes are perfectly placed! Available here. |
If you buy anything from karmaloop, you can use rep code: PRILLAMON for an extra 20% off! Yes, I'm serious. Pretty sweet deal.
Let me know if you have any questions, are going to try this yourself, or buying something similar!
No comments:
Post a Comment